Images & design
A product-image export checklist for Etsy, Shopify and Google Shopping
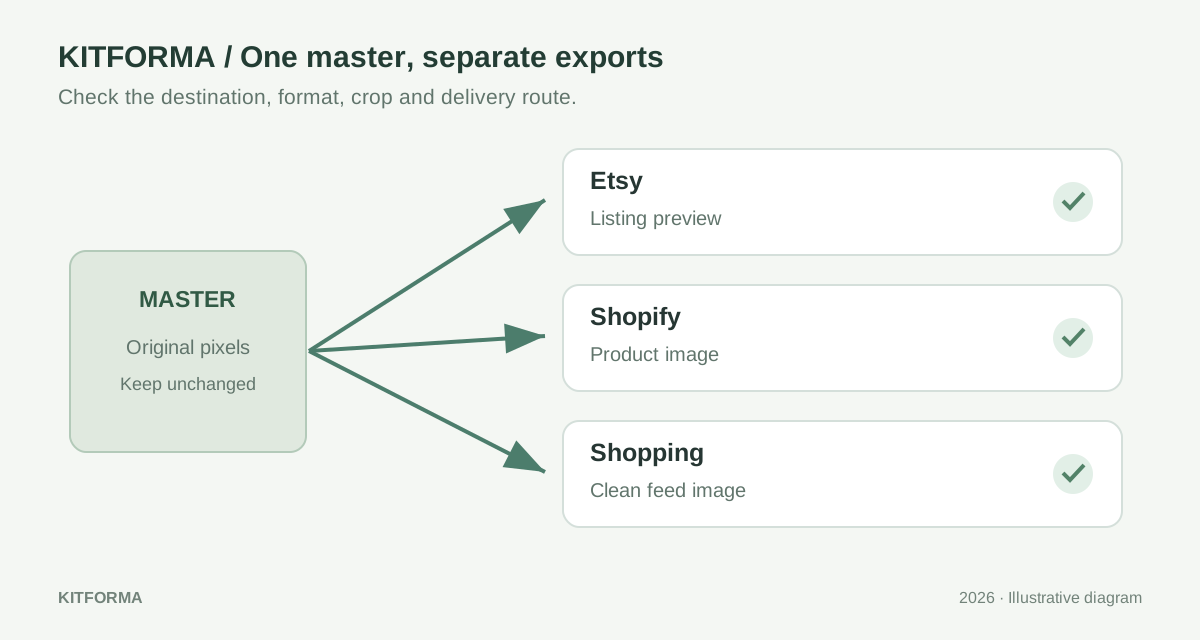
Keep one clean master and make destination-specific exports. Check the crop, actual file type, bytes, naming and image URL before publishing.
List the destinations before making exports
A product photograph can appear in an Etsy listing, a Shopify product page and a shopping feed. Those uses are related, but their image rules and display contexts are not identical. Start with one high-quality master and write down where each exported copy is going. This prevents a badge added for one layout from quietly becoming part of every other version.
For a blue cotton bag, your manifest might contain an Etsy cover, a Shopify product-detail image and a clean Google Shopping main image. Keep the product color and view consistent while allowing the composition to differ. A lifestyle scene, a tightly cropped texture and the entire product answer different questions; label their roles in the manifest.
Do not set a single target such as “all images under 200 KB” without checking the result. That arbitrary cap may be unnecessarily destructive for a detailed product photograph. Conversely, a small file can still have the wrong dimensions or show the wrong variant. Quality, dimensions, bytes and content deserve separate checks.
Read the rule for the exact upload surface
Use Etsy’s image guidance for an Etsy listing and Shopify’s Files documentation for the Files page. On the review date, that Shopify page lists a 20 MB file-size maximum and 20 MP resolution maximum. A rule for one upload surface should not be presented as a universal limit for every product-media workflow.
Google Merchant Center requires a product-focused main image without promotional overlays, and an image URL its systems can access. Its documentation also announces an image-size requirement change for January 31, 2027. Check the current page and account feedback instead of hard-coding an old minimum into a permanent checklist.
Save the relevant source link and your review date beside the export preset. A preset is a useful starting point, not a certificate that the image will be accepted forever. If the platform changes a requirement, you can update the affected branch of the workflow without editing the original photograph or unrelated exports.
Etsy Help: shop-image preparation guidance ↗Shopify Help: Files page requirements and naming ↗Google Merchant Center: main product image requirements ↗
Confirm the product, variant and framing
Compare the image with the product record before optimizing it. Check color, material, quantity and included accessories. If the listing sells one bag, a photograph of three bags needs careful contextual use; a byte-perfect file of the wrong product is still the wrong asset. Make this check while the master and product notes are open together.
Choose the crop around the essential subject. A square 2400 × 2400 export is a practical example for a square layout when the source supports it, not a required size for all three platforms. It contains 5.76 million pixels: width multiplied by height. A 6000 × 4000 source contains 24 million, even if its compressed file is comparatively small.
Use KitForma’s crop tool to choose the scene and its resize tool to make the intended dimensions. Preserve proportions when resizing the subject. Keep decorative labels and marketing graphics on a separate design layer in your source application so a clean export does not depend on painting them out of the final JPG.
2400 × 2400 = 5,760,000 pixels = 5.76 MP
6000 × 4000 = 24,000,000 pixels = 24 MP

Pixel count and file size are different checks.
Check the encoded format and background
Renaming photo.heic to photo.jpg does not convert the image. Use an actual conversion and reopen the downloaded result. KitForma’s HEIC converter and image converter support defined input and output paths; read the tool’s current limitations when working with an unusual source or a very large image.
JPEG is a useful candidate for ordinary product photography. PNG can retain transparency and sharp flat graphics, while WebP can be useful when the destination supports it. Choose from the destination’s accepted formats rather than assuming that a format your browser can display must also be accepted by the upload form.
For a transparent source exported as JPEG, choose the intended solid background and inspect the edges. A dark outline or unexpected matte can be easy to miss against a checkerboard. Test the downloaded file on the actual page background when possible. Converting back to PNG later cannot restore transparency that was flattened into a JPEG.
Inspect bytes, fine detail and required metadata
Compress a copy of the chosen export and compare it with the same-size original. Look at seams, small labels, mesh, jewelry edges or any texture the buyer needs to evaluate. If you set a target byte size in KitForma, verify the result’s dimensions too: a smaller file is not useful if important detail becomes unreadable.
Google’s image guidance requires preservation of specified AI-generation metadata for AI-created images. Do not assume that a general browser conversion preserves every metadata field. If that rule applies to an asset, use a workflow that retains and verifies the required metadata before submitting it. Ordinary format conversion should not be described as a marketplace-compliance validator.
Keep records of the source, output dimensions, file size and accepted export version. This is useful even for a small catalog: when one image looks different after an update, you can identify which export changed. The record does not need customer information; product code, variant and revision are usually enough for asset organization.
Name the file and test its delivery route
Use a predictable name such as bag-blue-front-shopify-v1.jpg. Shopify’s Files documentation flags certain reserved size-like filename endings, so check its naming guidance rather than calling the final file product_small.jpg by habit. Keep internal draft names and unexplained duplicate counters out of the export folder.
For a direct upload, open the saved local file and then inspect the platform’s preview. For a feed, test the hosted image URL separately: it must return the correct asset and be accessible to the platform, not merely to your signed-in browser. A local file tool cannot prove that a CDN, login rule or crawler restriction is configured correctly.
KitForma’s linked image operations process supported files in your browser and leave publishing to you. Save the outputs before closing the page. Finish by comparing the selected file with the destination preview and product record; this catches mistakes that a format or size check cannot.
- Verify the product and variant shown.
- Check the current destination rules.
- Inspect crop, dimensions, format and background.
- Compare compressed detail and required metadata.
- Test the local download or hosted image URL.
- Review the actual destination preview.
Shopify Help: Files page requirements and naming ↗Google Merchant Center: main product image requirements ↗
KITFORMA
Put it into practice
No account needed. Open an article, then try the matching tool.
Further reading
Sources last reviewed:
How to use this guide
Published by KitForma, maintained by Fatih Erkan. The linked references explain the relevant formats and definitions. Examples use sample inputs; they do not establish a speed, quality or compatibility guarantee for your files. Check the tool’s stated limits and inspect your downloaded result.
Questions & experiences
Share what worked, ask a specific question, or suggest a correction. Never include passwords, private files or personal document details.
Loading community…